Liebster Blogger Award…exciting!

This little blog is still very new, both to me and you, but I’m loving sharing my part of the universe with y’all. The lovely Vodka and Velvet (a blog title after my own heart) has nominated me for the Liebster Award, which is pretty awesome! Here’s the rules:

  1. Acknowledge the blogger that nominated you
  2. Answer the questions they set
  3. Nominate 10 bloggers with under 200 followers
  4. Inform the bloggers you have nominated them
  5. Post 10 questions for them to answer

Wanna hear my answers? Here goes:

1. When and why did you start blogging?

I started blogging in December in 2014. I’ve often discussed with my friends that we should start a blog as each of us has a ‘thing’, be it millinery, floristry or sewing. We’ve all come up with some pretty cool stuff and thought that a wider audience than our town could be beneficial for each of us in terms of feedback, support and suggestions. At the end of 2014 I wasn’t working a whole lot, so whilst I had time on my hands I decided to just jump in and start the blog! Of course ‘time on my hands’ never lasts but I’m so glad to have started this journal and have ‘met’ some cool people.

2. What is your go-to outfit?

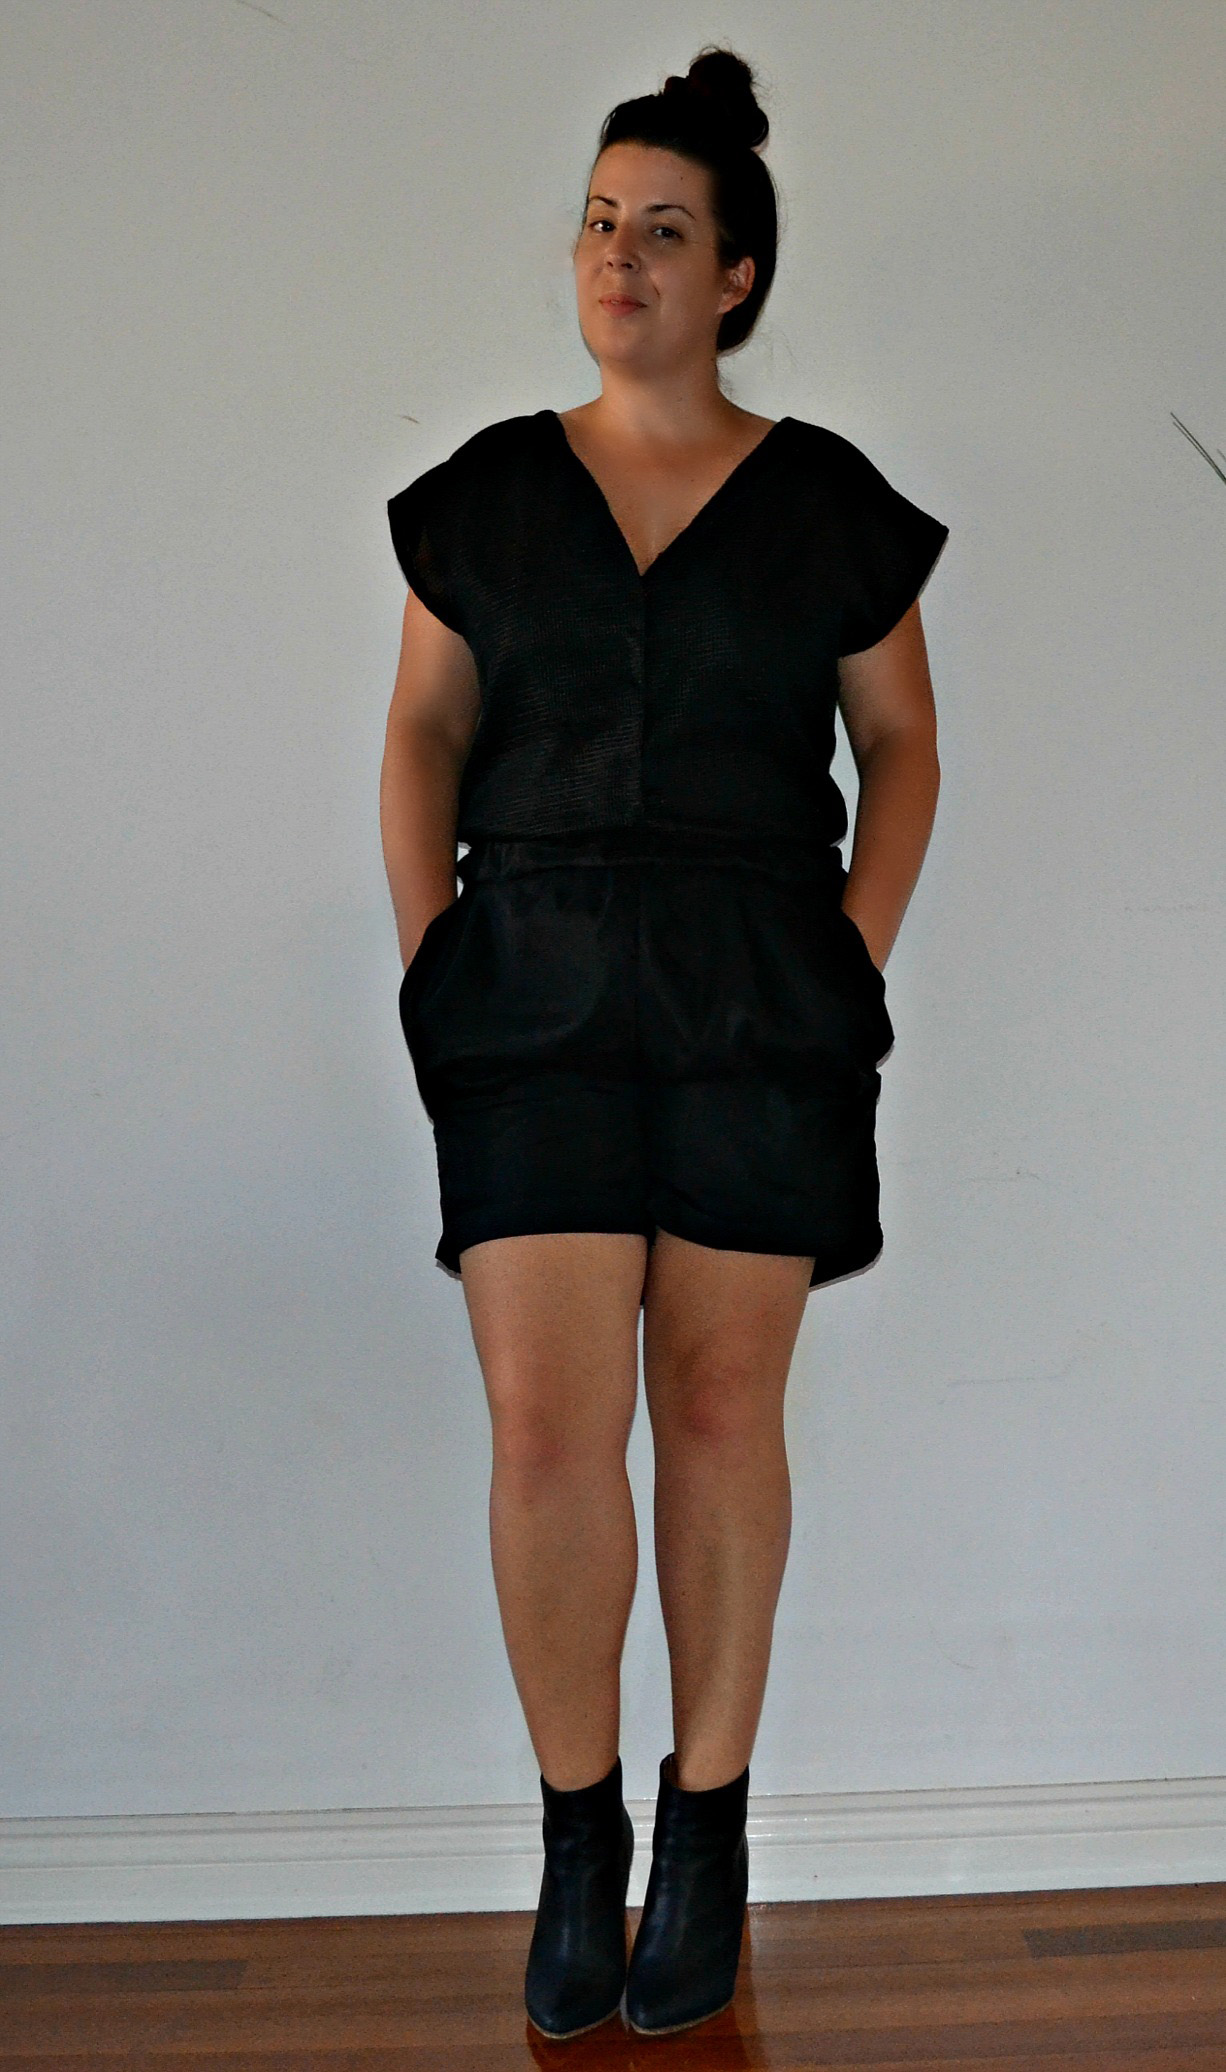
Motherhood makes this a fairly mundane answer, but it’s usually a silk tee or tank (lots of navy!) and shorts or jeans with slides or espadrilles.

3. How would you describe your style?

All or nothing. I’m either in mum-appropriate uniform described above, or covered in sequins! I think I’m quite classic in that I enjoy a quality fabric, well fitted jeans, angular or geometric design lines and sports luxe simplicity. My ‘special’ items are anything from full length sequins to a voluminous midi skirt. I have a bit of fashion ADHD.

4. Who is your style icon?

Miroslava Duma, freelance fashion writer and former Harper’s Bazaar editor (Russia). A street-style blogger’s dream with the perfect mix of texture, print and colour. Her satorial choices have lead to a huge following, and I’m happy to say I’m one of them! She’s awesome.

5. Favourite place to holiday?

Melbourne. Not particularly exciting as I already live in Australia, but Melbs is a far-cry from this mining town! I’m also usually there for an exciting event which always makes it a bit more thrilling. And shopping because..SHOPPING.

6. Stripes or plaid?

Stripes. Navy and white stripes are a twice-weekly occurrence around here.

7. Summer or winter?

Tough! I love summer weather but I love winter fashion….I’ll have to say summer

8. One outfit you regret?

Oh god…cheap polyester black handkerchief hem dress with pink rhinestones shoes a la Paris Hilton. Loved myself sick that night too…so embarrassing!

9. One wardrobe item you can’t live without?

Is it lame to say my wedding ring? Probably. My dark rinse, high-rise, skinny leg Lee jeans get the highest rotation.

10. Number one all-time favourite blogger?

Blair Eadie at Atlantic-Pacific. I want every.single.outfit. she’s ever worn. Swoon!

I suddenly feel a little closer to you all!

The ten blogs that I am nominating are:

1. Crafty Cultures

2. Print or Solid

3. Bedlam + Bird

4. Sew Ellie’s Imaginary Friend

5. Textile and Stitch

6. Fabulous Failures

7. The Ruffled Pine

8. As Told By Flo

9. Kristy Louise

10. Harmony’s Rainbow

I hope you guys haven’t been nominated before! Here’s your questions (not particularly innovative or hard-hitting, but fun):

1. How did you come up with your blog name?

2. Dirty Dancing or The Bodyguard? (a long-running best-movie-ever feud between my bestie and I)

3. Are you a plan-ahead blogger, or a ‘fit it in when I can’ blogger?

4. The most inspiring blog that you follow?

5. Your guilty pleasure?

6. Your long term goals for your blog?

7. Are you on instagram? Tell us the instagram user/account that you love the most (I’m @ohlittledoe if you’re on insta)

8. Your proudest memory?

9. When you’re not blogging, what are you doing?

10. What do you love most about blogging?

I hope the questions aren’t too trying! I think that most of my nominees are new to the blogging world like myself, so I hope we can all ‘meet’ some new friends and live happily ever after in bloggy heaven 😉

Enjoy!

Jenelle xx

Wardrobe Roulette #1 {Salme Patterns mesh playsuit}

The first of my 12 Wardrobe Roulette items is completed! In record time, I might add. I was a tad excited to get it done, and the anticipation of fabric arriving always make the urgency so much more intense. Weird.

The garment that you awesome peeps picked is this playsuit:

salme patterns playsuit

Or romper, if you’re outside good old Australia

I picked a cotton/silk blend and a cotton poplin lining for the shorts. The bodice and pocket lining used the cotton/silk blend as lining with this sweet mesh-ish stuff as the feature fabric, which I purchased from Darn Cheap Fabrics:

mesh bodice fabric

Guys, this pattern is actually comes together really easily. Well, mostly, but more on that later. I think you could actually complete this in a weekend as it’s mostly straight-forward stitching…until you get to the pockets..

In hindsight, the cotton/silk is probably a bit too fragile for use on shorts, but the poplin definitely improved the stability. I cut the front and back bodice pieces out in the silk and the mesh, and the rest out of the silk and the poplin. There was one piece of the pocket that I also cut out in the mesh.

Ah these pockets. Look, it’s been fairly well documented that they are a tad challenging, and I admit that I spent a scary amount of time trying to figure out the 4 pocket pieces. Luckily I made a toile of the shorts so that I had it sorted before I used the fashion fabric. The toile also allowed me some time to think over the garment construction. I wanted to use the mesh somewhere on the bottom part of the playsuit to make the garment a bit more cohesive, and after making the mock-up I decided to make the pocket lining from the mesh.

salme playsuit pocket detail_Things That Shine Lifestyle

The bodice was very straightforward, which makes me love kimono sleeves so much more. Once completed, I hand sewed the press studs onto the bodice. I used 5 press studs instead of the intended 3 due to busty-ness. In hindsight I should have used a more robust fabric for press studs as the cotton silk and mesh is very light. You can also kind of see where I sewed the press studs which is totally fine, except it’s not fine for my OCD. Moving on.

salme playsuit bodice waist detail_Things That Shine Lifestyle

When hemming the shorts, I ended up rolling the bottom edge up twice and created a cuff. Much better on my short legs! I think the legs look a little bit firm but I’m blaming A) bad lighting or B) Christmas binges. They don’t feel tight at all, though. It’s actually really comfy. After a bit of hand finishing, like tacking the neck facings to seam allowances and the press studs, it was DONE!

salme playsuit full length_Things That Shine Lifestyle 1

Tada!

salme playsuit pop art clutch_Things That Shine Lifestyle 1

With my new favourite New Look clutch (of course it’s now on sale for Aussie $7.50. You’re welcome)

salme playsuit helper_Things That Shine Lifestyle

Little helper

And with my all-time favourite shoes EVER (Maison Martin Margiela for H&M – you can find them on eBay or here). If you can find them, buy them. Best ever.

salme playsuit closing_Things That Shine Lifestyle 1

Aaaand finally, with the least helpful helper ever. He’s going to take a good selfie one day if he keeps that posing up.

All in all, a success. This playsuit will fit into my wardrobe perfectly and it really appeals to my sports luxe love. Wardrobe Roulette #1 done! Keep an eye out for the next Wardrobe Roulette post on the blog or on my Facebook page: you get to choose which garment I make next!

What about you guys? Anyone else made this playsuit?

Jenelle xx

{Brigitte Bardot pop art painting}

Today’s little offering is a serious throwback to high school art class in all of its awkwardness. I don’t know why I remembered this painting technique all of a sudden, or why I decided to try it again as a ‘grown up’, but read on…

I can’t quite recall in which year we learned about pop art, but I think it might have been year 10. Miss Kemmers showed us all about Andy Warhol and Lichtenstein, comic strips and all of the bright reflections of modern culture, then tasked us with finding a magazine image that we were going to make into our own pop art painting.

Being an incredibly lost and confused 15 year old in rural Australia that desperately wanted to belong, my “popular culture” was Rolling Stone magazine, Empire Records movie and Triple J radio station. Which is hysterical today, given my current music and magazine taste. I still stand by Empire Records’ amazingness. I’m going to add Dazed and Confused as another good measure of pop culture.

Naturally, I picked the painfully cool River Phoenix, playing his painfully cool guitar a short time before his tragic demise due to drug use at the infamous Viper Room. River Phoenix, of the “I don’t want to die in a car accident. When I die it’ll be a glorious day. It’ll probably be a waterfall.” quote; would be perfect for the pop art treatment: the irony of the brightness and cartoon-like painting of this dark and tragic story was perfect, right?

river-phoenix-playing-teh-guitarImage

The point of my (rather teen angst-y) story is, we learnt a pretty cool way to make a pretty cool painting – kind of like painting by numbers it’s so easy!

First things first, you pick your subject picture. I chose Brigitte Bardot in 2015 as now that I’m past the teen angsty-ness, I’m painting one of my favourites, rather than what I think should be my favourite (although I did love River). I love everything about her- big hair, big eyelashes, big cat-eye..she’s a little piece of French perfection!

brigitte bardot 1

Friends: I’m as surprised as you are that I didn’t pick Taylor Swift. Plenty of time for that 😉

When you’ve got that picture, start sketching! The most important part is that you pay attention to light and shade, as shadows take on a shapely form and really provide the contrast that gives the figure their form. Apart from the obvious black for shadows, I also used blue for as a shade for less dense shadows.

bardot pop art painting sketch close up_Things That Shine Lifestyle

bardot pop art painting sketch grid_Things That Shine Lifestyle

Here’s where the easy part comes in: when your sketch is complete, draw a grid at 1cm intervals over the sketch. Then on your canvas, draw a grid at 2cm intervals, and transfer the sketch as a line drawing like so:

bardot pop art painting canvas sketch_Things That Shine Lifestyle

See that? Easy! Get out the acrylic paint in the strongest or boldest version of a colour you can find; for Brigitte’s hair I used a bright, almost neon yellow for her blonde hair.

bardot pop art painting face_Things That Shine Lifestyle

You can see as a comparison below that the shadows in the original image become a solid mass of colour using a pop art technique.

bardot pop art painting comparison_Things That Shine Lifestyle

It’s been so long since I painted anything, likely since high school a whole (ahem..cough) 15 or so years. Terrifying. I’m guessing that they make pop art a subject in year 10 as it utilises easy-to-grasp techniques and the resulting canvas is a little bit child-like, but; just like River, it’s youthfulness will be around forever.

bardot pop art painting bright_Things That Shine Lifestyle

Ahhh…memories.

Jenelle xx

Things That Shone {#3}

The fabric for the Salme playsuit arrived his week. It’s my first sewing project for 2015 that y’all got to pick as part of Wardrobe Roulette. It’s a silk/cotton blend and a really cool mesh type of situation from Darn Cheap Fabrics and I think I’m so excited that I’ll be finished by next week. I made a muslin of the shorts part due to my sizeable ass and it didn’t need one alteration. What are the chances?!

Some stuff I was tagged in this week:

2015/01/img_7376-0.jpg

Winter time after Beaten Track Brewery with the lovely Lolly

2015/01/img_7378-0.jpg

Indulge Cosmetics VIP night

2015/01/img_7377-0.jpg

Middle Island Fishing Banquet, wearing Witchery First Edition (on sale!)

iPhone & insta lately:

2015/01/img_7381.jpg

Swimming and painting in the back yard

february sale image_final

A little something my friends and I run. More info here.

Hashtags used this week: #summerlovin #backyardrules

How has your week been?

Ps: find our Facebook page here

Things I Made {Apple Crumpie: a pie/crumble hybrid}

Yes folks, that’s an apple pie/apple crumble hybrid. Apple Crumpie! Better than Apple Pumble yes?

Each Christmas I am generally asked to make dessert due to A) being a fairly ordinary cook and B) being a reasonable baker. In saying that, I did successfully cook a turducken with a bunch of Tanzanians in 2013 and I don’t think I can do better than that for Christmas.

tanzanians

Tanzanians. That’s my sis in law on the right. 

I make cheesecake every year, because…cheesecake. 3 years ago I made one of those fancy ice-cream cakes that are in the foodie magazines; all layered sorbet and triple chocolate ice-cream and crushed biscuits etc, until dad, brother and various relatives made their unhappiness known by various utterances of “what the F— kind of ice-cream cake is this?!” Never again, people. The miners are traditionalists around here.

Which is how I came to the decision to make apple pie this year. Traditionalists love apple pie right? Right. Truth be told, I was advised to buy an apple pie because actually making apple pie is pretty tedious and frozen apple pies are fairly nice.

I wouldn’t be a very good DIY-er if I bought a frozen pie now, would I?

Obviously, I decided to make my own. Here’s where things get challenging:

* I’ve never made any kind of dessert pie (with emphasis on no DIY pie crust. Ever.)

* I don’t like apple pie. At all.

Soooo not only was I breaking the golden rule of NEVER TRYING AN UNTESTED RECIPE FOR AN OCCASION, I also couldn’t taste test, or even eyeball something to see if it looked right, because I hate it and never ever eat it. There’s no way this could wrong…

With an irrational amount of self-confidence I started asking everyone I know about their tried-and-true recipes and most said “pffft, just buy one”, or “make apple crumble, it’s way easier”. Not helpful guys. My bricks and mortar boss came through with her recipe, and I decided to go ahead with that one.

apple pie crust recipe_Things That Shine Lifestyle

I used a recipe from Sally’s Baking Addiction for Salted Caramel Apple Pie

apple pie recipe

Sadly, mine did not look like this. Sorry Sally. 

As per most apple pie instructions, I started with making the crust and letting it chill in the fridge while I made the filling.

apple pie mixing_Things That Shine Lifestyle

My cottage-y kitchen screams homemade apple pie. Check out those tiles!

The mixing part of the pie crust-making was mostly stress free, it all came together as per the instructions. I rolled it into a ball and popped it in the fridge. So far, so good!

apple pie ball_Things That Shine Lifestyle

Foodie pictures shouldn’t have crumbs hey?

Preparing the apples, while tedious, is probably the only step that I wasn’t heart palpitations about. You have to peel and core 5 apples: Sally suggested using 2 different types of apple for a more complex flavour  so I went with 3 Pink Lady and 2 Granny Smith. I cut those babies into thin slices and set aside. I feel like I’m underestimating this part: it took AGES. Even with the mum-essential Ikea apple corer and cutter, forever.

You then make the salted caramel sauce as per Sally’s instructions. I’ve never made caramel before and it was so easy and so so so so good. Sally rocks.

And then, it was time for the dreaded pie crust. I wish I could say it went smoothly, but it didn’t. My first attempt to roll it was disastrous, and it didn’t get a whole lot better. There was a lot of patching of the crust as per the boss-lady’s instructions:

apple pie crust_things that shine lifestyle

More crumbs. Crap blogger. 

But there was a pie crust in my pie dish so I’m claiming it a win. I then mixed the apple filling with what I’m told are apple pie essentials: flour, nutmeg, cloves, lemon zest, cinnamon and sugar. It looks like heaps of apple filling, so you have to be quite strategic in getting those slices right in there so it all fits. Then take that salted caramel you made earlier and drizzle around half over the apple filling for extra appley goodness.

apple pie caramel sauce_Things That Shine lifestyle

Appley goodness

Now if I was Sally, I would now make an amazing lattice pie top and brush it with egg for golden shiny-ness. Clearly, I am not Sally. The boss suggested grating the remaining pastry as a quick and easy pie top – and imagining the grated pastry made me think of apple crumble, which everyone suggested I make in the first place.

SOLD! Best of both worlds in my kitchen. Apple pie crust and filling, apple crumble pie top. And so the Apple Crumpie was born.

apple pie complete_Things That Shine Lifestyle

apple pie crumbled_Things That Shine Lifestyle

Apple Crumpie. The battler’s apple pie. 

Bake that sucker for just over an hour and enjoy! You should have caramel sauce left over to serve the pie with. Did I forget to take the caramel sauce to Christmas lunch? Absolutely.

Here she is at Christmas lunch (a little blackened due to over-re-heating due to talking too much and forgetting about it) with cheesecake, pudding and custard. Icecream is hiding somewhere.

apple pie table_Things That Shine Lifestyle

Word is that it was a winner, and the caramel was a nice touch. It’s entirely possible that people were being polite, but no one left any in their bowls so I’m calling it good.

Did you make anything special this Christmas? If it will pass the miner palate test, I wanna hear about it!

Jenelle x